

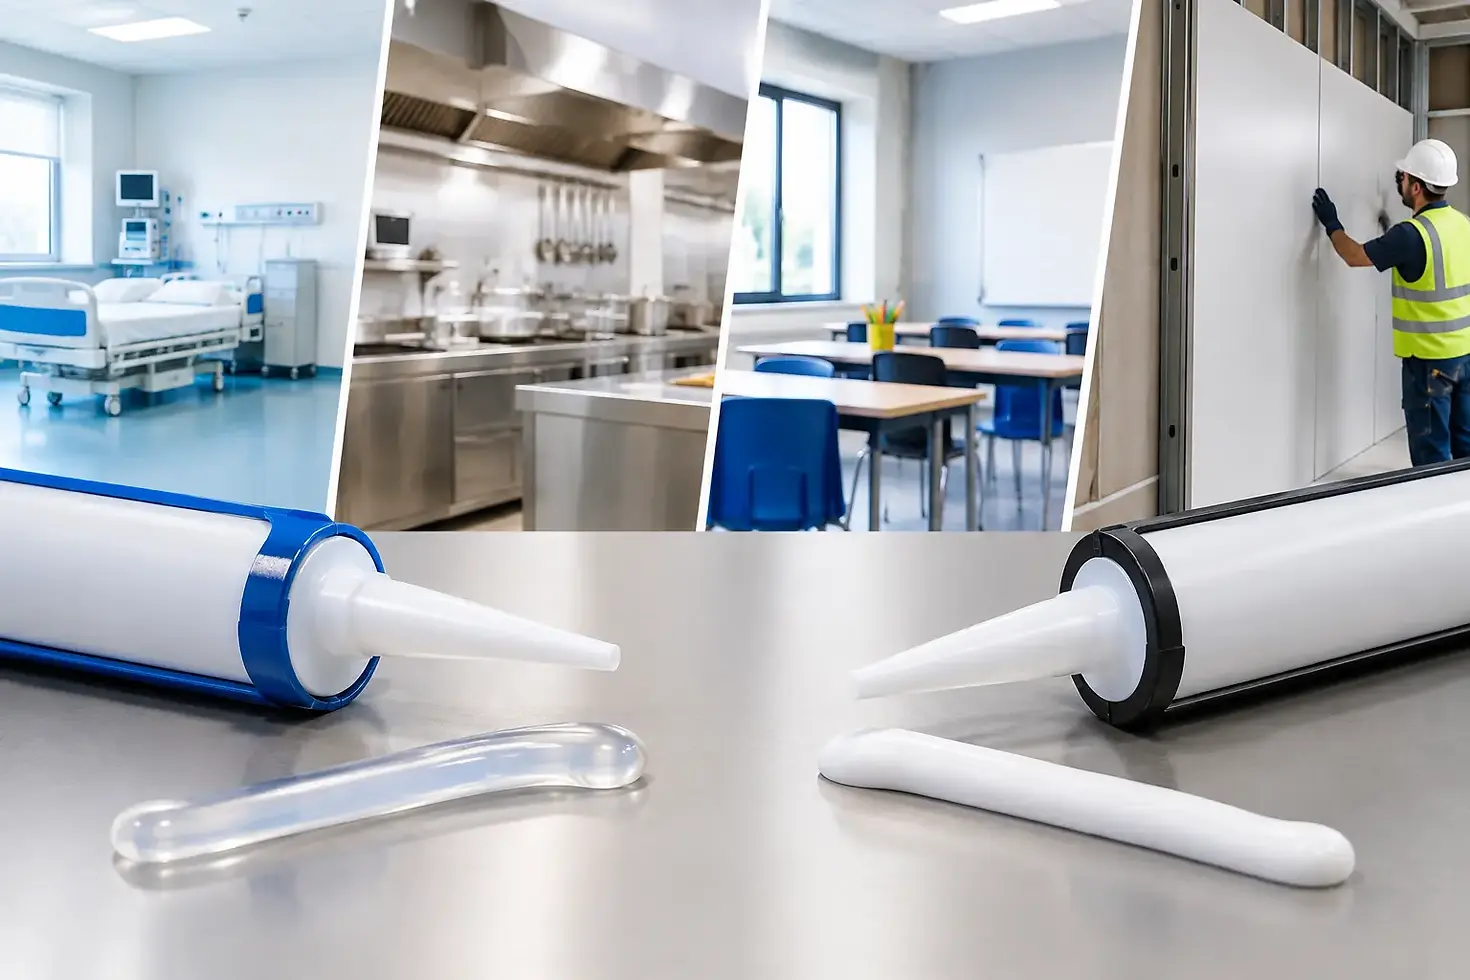
Silicone Versus Sanitary Sealant Explained
A failed seal around a shower tray, sink or PVC wall panel quickly becomes more than a cosmetic problem. Water can reach the substrate behind it, dirt gathers in the gap and black mould can return far sooner than expected. When comparing silicone versus sanitary sealant, the key point is that they are not always two completely different products. Sanitary sealant is usually a type of silicone sealant designed specifically for wet, hygiene-sensitive spaces.
For bathrooms, commercial kitchens, changing rooms, utility areas and hygienic wall-cladding installations, choosing the right product matters as much as applying it neatly. The correct seal completes the waterproof finish, supports easier cleaning and protects the edges, trims and junctions that receive the most moisture.
What is the difference between silicone and sanitary sealant?
Silicone is a broad category of flexible sealant. It is widely used to seal gaps around baths, showers, basins, worktops, windows and wall finishes because it remains elastic after curing. That flexibility allows it to cope with normal movement between two surfaces without cracking away.
Sanitary sealant is silicone formulated for bathrooms, kitchens and other damp areas. Its defining feature is the addition of anti-fungal or mould-resistant protection. Quality sanitary sealants are also designed to withstand regular cleaning, splashes and humid conditions while keeping a clean, smooth finish.
In practical terms, a standard silicone may be suitable for certain general building joints, but it is not automatically the best choice around a shower, wash basin or hygienic wall cladding. A sanitary-grade product is the safer specification where moisture and cleaning are part of everyday use.
That does not mean every sanitary sealant performs identically. Cure type, adhesion, colour, movement capability and compatibility with the surfaces being sealed still need checking before work starts.
Why ordinary silicone can fall short in wet areas
A basic silicone bead may initially look watertight, particularly when it has been applied over clean surfaces. The problem often appears after repeated exposure to steam, soap residue, cleaning products and standing water. If the sealant lacks effective mould resistance, discolouration can develop on the surface or at the edges of the joint.
This is especially relevant in areas where hygiene standards are visible to customers, inspectors or residents. In a commercial washroom or food-preparation area, darkened sealant lines undermine an otherwise clean installation. In a domestic bathroom, they create extra cleaning work and can make a recently refurbished room look tired.
Mould-resistant sanitary sealant helps delay this deterioration, but it is not a substitute for sound installation or routine cleaning. A sealant bead applied to a damp, dusty or greasy surface may lose adhesion regardless of its anti-fungal properties. Likewise, leaving water trapped around a bath or shower enclosure will shorten the life of any seal.
Silicone versus sanitary sealant for PVC cladding
PVC hygienic wall cladding is designed to create a durable, grout-free surface that is easy to wipe clean. The sheet itself is waterproof, but the installation depends on well-finished joints, corners and perimeter edges. This is where a compatible sanitary sealant earns its place.
Use it to seal junctions between cladding and shower trays, baths, worktops, sanitaryware, window reveals and other fixed surfaces. It can also provide a clean finish where trims meet adjoining surfaces, provided the detail allows for it. The aim is to prevent water and debris reaching the wall behind the panels while maintaining a neat, hygienic line.
For PVC sheets and trims, a neutral-cure sanitary silicone is often the preferred option. Neutral-cure products are generally less aggressive than acetoxy-cure silicones and are commonly chosen where material compatibility is a concern. Acetoxy silicone is recognisable by its strong vinegar-like smell while curing. It can be an effective sealant on suitable surfaces, but it should not be selected by habit alone.
Always confirm that the chosen product is suitable for PVC and for every surface in the joint. A shower area may involve PVC cladding, acrylic, ceramic, glass, painted surfaces or metal fittings in one small space. The sealant has to adhere reliably to both sides of the gap.
Choose by the location, not the label alone
The word “sanitary” is a useful starting point, not the whole specification. The right choice depends on where the sealant will be used and what it needs to bond to.
Bathrooms, showers and wet rooms
Choose a high-quality mould-resistant sanitary silicone for bath edges, shower enclosures, shower trays, basins and wall-cladding perimeters. Look for a product intended for permanently damp or high-humidity conditions. Flexibility is essential because trays, baths and walls can move slightly in normal use.
A clear sealant can be useful where the finish needs to remain visually discreet. White is often the practical choice for white panels, bathroom suites and trims. Where coloured wall cladding is installed, consider whether a matching or contrasting bead will be easier to keep looking clean over time.
Commercial kitchens and food areas
In kitchens, wash-up areas and food-related environments, hygiene and cleanability take priority. Seal wall-to-worktop, wall-to-sink and panel-to-panel details carefully so food debris, water and cleaning residue cannot lodge in open gaps.
Check the project requirements rather than assuming any bathroom sealant is suitable. Some sites may require particular approvals, chemical resistance or documented product performance. The wall-cladding system, adhesive, trims and sealant should work together rather than being selected as unrelated items.
General dry-area joints
For low-moisture locations, such as some internal finishing joints away from sinks and showers, a general-purpose silicone may be adequate. However, it still needs to be compatible with the surfaces and suitable for the amount of movement expected. There is little benefit in paying for a specialist sanitary formulation where moisture and mould are not genuine risks.
Application decides the life of the seal
Even premium sanitary sealant cannot rescue a poorly prepared joint. Remove all old silicone when replacing a failed bead. Cutting away only the visible face can leave contaminated material behind, which may affect adhesion and allow mould to reappear.
The joint must be clean, dry and free from dust, soap film, grease and loose material. If the gap is particularly deep, use suitable backing material where required so the sealant is not applied excessively thick. This helps create the correct joint shape and avoids unnecessary waste.
Apply a consistent bead, then tool it promptly with an appropriate profiling tool to press the sealant into both surfaces. A properly tooled bead has a smooth, slightly concave profile rather than a thick, uneven ridge. It looks more professional, cleans more easily and reduces the chance of water sitting on the seal.
Allow the product to cure fully before exposing it to water. Skinning over is not the same as full cure. Cure time varies with the product, bead thickness, ventilation and temperature, so follow the manufacturer’s instructions rather than using the room too soon.
Common mistakes that lead to early failure
The most frequent mistake is sealing onto a wet surface. This is common around baths and shower trays, where water may remain in corners even after the area has been wiped down. Moisture trapped beneath the bead can compromise adhesion from the start.
Another issue is applying sealant over old silicone. New silicone does not reliably bond to cured silicone, so the bead may peel away at the edges. Poor surface preparation is often mistaken for a product fault.
It is also wise to think about movement before sealing. A bath or shower tray may flex when filled or stood in. Where relevant, fill the bath with water before sealing so the bead is applied under normal load. Once the water is removed, the seal is less likely to be pulled apart during use.
Finally, do not use sealant to disguise a badly fitted panel, damaged trim or oversized gap. Sealant should finish and protect a correctly installed system. If there is a significant defect behind it, repair the detail first.
Maintaining a clean sanitary seal
Mould-resistant sealant reduces maintenance, but it does not eliminate it. Wipe down shower and splashback areas regularly, especially where soap and limescale accumulate. Use cleaners appropriate for the wall finish and sealant, and avoid harsh abrasive pads that can roughen the surface.
Good ventilation makes a real difference. Extractor fans, openable windows and sensible drying time after showers reduce the condensation that encourages mould growth. If a bead begins to detach, crack or show persistent staining, replace it before water can get behind the wall finish.
For hygienic PVC wall-cladding projects, treat sealant as part of the installation system, not an afterthought. A compatible sanitary sealant, applied carefully at the right junctions, protects the clean, waterproof finish that the panels are there to provide. Buying the sheets, trims, adhesive and finishing products together also makes it easier to plan the job properly and avoid delays once fitting has begun.
The best choice is rarely simply the cheapest tube on the shelf. Select a sanitary silicone that suits the room, the materials and the expected level of moisture, then give it the preparation and curing time it needs. That small amount of care keeps the finished surface cleaner, smarter and easier to maintain for longer.


Comments