

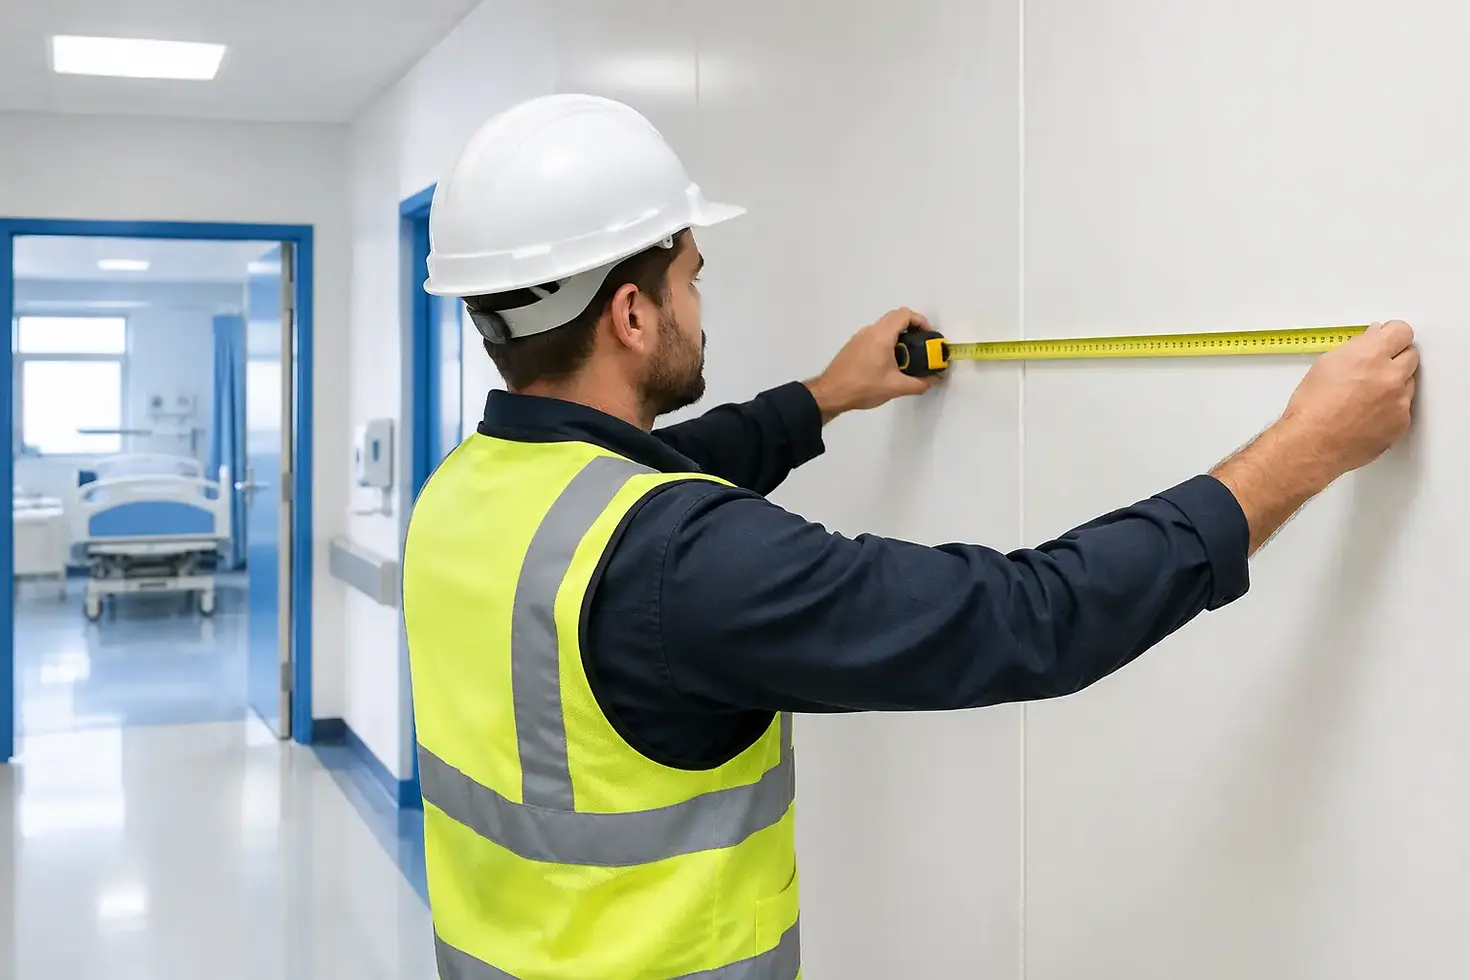
How to Measure Walls for Panels Accurately
A hygienic wall cladding project can look straightforward until the sheets arrive and one wall is 40 mm short. Knowing how to measure walls for panels properly helps you order with confidence, control waste and keep installation moving. Whether you are lining a commercial kitchen, refurbishment washroom, utility room or domestic bathroom, the same principle applies: measure the real surface, not the dimensions you expect it to be.
PVC hygienic wall sheets provide a waterproof, grout-free finish that is quick to clean and built for demanding interiors. Accurate measuring makes sure the finished system - panels, trims, adhesive and sealant - fits the room as it should.
Measure walls for panels before choosing quantities
Start by sketching the room. It does not need to be a technical drawing, but it should show each wall separately, along with doors, windows, boxed-in pipework, columns and any fixed units. Label every wall so measurements do not get mixed up once you begin working out your order.
Measure the width and height of each wall in millimetres. A steel tape measure is usually best for smaller rooms, while a laser measure can speed up larger commercial spaces. Take the height at more than one point. Older properties, uneven floors and ceilings, and newly formed openings can all vary more than expected.
Use the largest measurement where there is a difference. A panel can be trimmed to fit, but it cannot be stretched to cover a gap. This is particularly important where sheets run floor to ceiling or meet a suspended ceiling, as even a small shortfall can leave an untidy edge that is difficult to seal hygienically.
For each wall, multiply its width by its height to calculate the area in square metres. For example, a wall measuring 3,000 mm wide by 2,400 mm high is 3 m by 2.4 m, giving an area of 7.2 m². Repeat this for every wall, then add the areas together.
Area is useful for estimating coverage, but it should not be the only figure used to order sheets. Sheet orientation, cut-outs and the size of the panels you select all affect the number required.
Check the sheet layout, not just the square metres
Hygienic wall sheets are commonly fitted vertically, although horizontal fitting may suit a particular layout or design. Before ordering, decide which direction gives you the fewest joins, the cleanest finish and the most practical use of each sheet.
A wall that is wider than the sheet width will need more than one panel, so allow for joints and the appropriate joining trim or sealant detail. Likewise, a wall taller than the selected sheet length may need a join, unless you choose a longer sheet or adjust the layout. In wet or hygiene-sensitive areas, fewer joints usually mean less cleaning and fewer places for dirt or moisture to collect.
Do not assume that a total wall area of 20 m² means you can simply buy 20 m² of cladding. A narrow return, a tall wall or several awkward openings may create offcuts that cannot be used elsewhere. Map each sheet onto your drawing, marking the direction of the panel and where every join will fall. This takes a few minutes and often prevents a costly second delivery.
Where appearance matters, plan the layout around focal points. In a bathroom, you may prefer equal-sized cuts either side of a shower enclosure rather than one full sheet and one narrow strip. In a food preparation area, position joints away from areas likely to receive the heaviest washdown where possible.
Allow for doors, windows and other openings
It is tempting to subtract the area of every opening from the total wall area. That can be useful as a rough guide, but it is not always the right approach when ordering panels.
A door or window opening still creates cuts. Unless the removed piece can be reused on another section of wall, you need the full sheet that surrounds it. This is why an opening can increase waste rather than reduce the quantity of cladding needed.
Measure each opening by width and height, then note its exact position from the nearest corner and floor. Also record reveals, window boards, service boxes, pipe penetrations and extractor openings. These details determine the cuts required and the trims needed for a neat, sealed edge.
For a simple room with one standard doorway, a modest allowance is usually sufficient. For rooms with several windows, boxed services, alcoves or multiple penetrations, plan more generously. Trying to make every offcut work can slow fitting and leave you with poorly positioned joins.
Add a sensible allowance for cuts and waste
For straightforward, square rooms with limited cut-outs, allow around 10% extra material. This covers trimming, minor measurement variation and a reasonable amount of waste. It also gives installers flexibility to select the best pieces for visible areas.
Increase the allowance to around 15% where the room is irregular or has several openings, external corners, soffits or service penetrations. Larger projects with repeated wall sizes can sometimes produce less waste because offcuts are easier to reuse, but this depends entirely on the sheet dimensions and layout.
It is worth keeping one or two suitable offcuts where practical. They can be useful for boxing in pipework, lining a small return, repairing accidental damage later or testing adhesive before fitting the main sheets. Keep them flat and protected from damage until needed.
Buying too little material is usually more disruptive than allowing a small amount of extra. A missing sheet can hold up a kitchen handover, leave a bathroom out of action or delay other trades. Ordering enough at the outset gives the project a better chance of finishing on programme.
Measure trims, adhesive and sealant separately
Panels are only one part of a hygienic wall cladding installation. Measure each edge and junction so you can order the correct quantity of trims. External corners, internal corners, finishing edges, panel joints, capping sections and floor junctions all need consideration depending on the room and fitting method.
Add together the linear metres for each trim type rather than estimating from the room area. Measure vertical corners from floor to ceiling and horizontal edges across the full run. Include a small allowance for cutting, especially where trims meet around door frames or uneven ceilings.
Adhesive requirements depend on the wall condition, sheet size and installation method. A clean, dry, sound substrate is essential. If the wall is heavily textured, damp, loose or contaminated, address that before fitting. Cladding follows the surface beneath it, so measuring correctly will not compensate for a wall that needs preparation.
Sealant should be planned for all relevant perimeter edges, joints and penetrations. In wet rooms and hygiene-critical settings, properly sealed details help keep moisture out of the background and support a durable, easy-clean finish.
Check the walls as you measure
Measuring is the ideal time to inspect the substrate. Use a long straightedge or level to identify bows, hollows and high spots. Check corners for square, particularly in older buildings. If walls are noticeably out of plumb, record the widest point and think through how the panel edges will meet at the ceiling, floor and adjacent walls.
Also check for moisture, flaking paint, loose plaster and old tile adhesive. PVC wall panels perform best when bonded to a suitable, stable surface. A few minutes spent preparing the background properly is far better than discovering a problem once adhesive has been applied.
For refurbishment work, remember that new cladding adds thickness to the wall. Check how this affects door architraves, sockets, switches, cupboards and sanitary fittings. You may need extension collars, packing pieces or a different trim detail to maintain a professional finish.
A final order check before you buy
Before placing the order, compare your sketch against your calculations. Confirm the total number of sheets, their orientation, the waste allowance and the trim lengths. Check that your chosen panel finish is appropriate for the space and that all installation products are included.
For commercial work, it is sensible to keep the drawing with the job file and have the installer review it before materials are ordered. For a home project, lay out the measurements and sheet plan on a workbench or kitchen table and check them once more with fresh eyes. The simplest measuring mistakes are often swapped wall widths, missed returns and door openings assumed to be standard when they are not.
Accurate measurements turn wall cladding from a guesswork purchase into a planned installation. Take the extra time at the beginning, order a complete system and you will be ready to create the clean, durable finish the room needs.


Comments