

How to Cut PVC Cladding Cleanly
- tim
- May 14
- 6 min read
A panel that is 2mm out at the cut edge can turn a straightforward fit into a frustrating afternoon. With PVC wall cladding, neat cuts matter because every join, trim and corner is on show - and in hygiene-sensitive spaces, a poor fit can also leave gaps that are harder to seal and clean.
If you are wondering how to cut PVC cladding, the good news is that it is generally simple to work with. The key is using the right tool for the thickness of the panel, supporting the sheet properly, and cutting with enough care to avoid chipping, wandering lines or rough edges. Whether you are fitting a commercial washroom, a food prep area, a utility room or a bathroom at home, a clean cut helps the whole installation look sharper and perform better.
What makes PVC cladding easy to cut
PVC cladding is much easier to handle than many tiled or laminated wall finishes because you are working with a lightweight, waterproof sheet rather than individual units. That means fewer joints, quicker coverage and less mess during fitting. It also means your cutting method needs to suit the panel you have chosen.
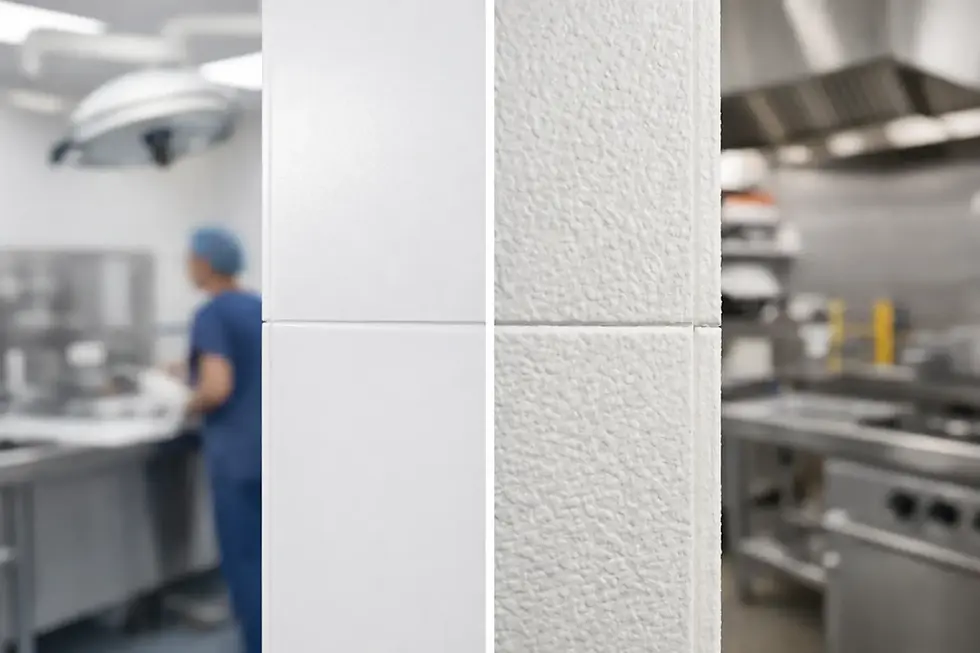
Thinner sheets can often be scored and snapped, while thicker hygienic wall cladding panels are better cut with a fine-toothed saw or power tool. Finish matters too. A gloss surface can show scratches more readily than a satin or standard white finish, so keeping the protective film on for as long as possible is usually worthwhile.
Best tools for how to cut PVC cladding
The right tool depends on the type and thickness of the cladding, as well as the kind of cut you need to make. Straight full-length cuts are different from small notches around sockets or pipework.
For thin PVC cladding sheets, a sharp utility knife and straight edge can be enough. You score the face several times, then snap the sheet along the line. This is often the quickest method when you want a clean straight cut without setting up power tools.
For thicker hygienic PVC sheets, a circular saw, jigsaw or fine-toothed handsaw is usually the better choice. A circular saw gives the straightest result on long runs, especially if you are cutting multiple sheets to the same size. A jigsaw is useful for shaped cuts, but it can leave a rougher edge if you use the wrong blade or rush the cut. A fine-toothed handsaw is slower, but still practical for smaller jobs or sites where power tools are not convenient.
If you are cutting holes for services, a hole saw or drill bit can help you start neatly before finishing the shape with a jigsaw. For final clean-up, fine sandpaper or a deburring tool can take the sharpness off the edge without damaging the face.
Before you cut, set the sheet up properly
Most cutting problems start before the blade touches the panel. If the sheet is unsupported, badly marked, or moving during the cut, the result is rarely clean.
Lay the cladding on a flat, stable surface. Measure twice, mark clearly, and use a straight edge for long lines. A pencil is usually better than a marker on protective film because it is easier to control and less likely to transfer onto the face. If the panel has a decorative or gloss finish, keep the film on during measuring and cutting unless the manufacturer advises otherwise.
Temperature can make a difference as well. PVC is more workable when stored and fitted in a sensible room temperature range. If sheets have been delivered in very cold conditions, let them acclimatise before cutting. This helps reduce the chance of stress on the surface and gives you more predictable results.
How to cut PVC cladding with a knife
For thinner panels, scoring and snapping is often the cleanest route. Place a straight edge on your marked line and run a sharp knife firmly along it several times. One light pass is rarely enough. You want a proper groove, not a scratch on the surface.
Once the score line is deep enough, move the panel so the cut sits over the edge of your bench and apply steady pressure to snap it cleanly. If needed, trim the back with the knife to finish the break. This method is quick, quiet and tidy, but it is best suited to straight cuts rather than detailed shaping.
The main trade-off is control versus thickness. Scoring is excellent for thinner cladding but less effective on heavier sheets, where forcing the snap can leave an uneven edge.
Cutting thicker PVC cladding with saws
If you are working with thicker hygienic wall cladding, a saw gives you more control and a cleaner result. A fine-toothed blade is important because coarse teeth can chip the edge or leave a ragged finish.
With a circular saw, support the panel fully and cut steadily without forcing the blade. Too much speed can generate heat, and too much pressure can drag the cut off line. Many installers prefer to cut with the decorative face positioned to suit the blade direction and minimise breakout. It is worth testing on an offcut first if appearance is critical.
With a jigsaw, choose a blade suitable for plastics and keep the shoe flat against the panel. A slower, more controlled pace usually produces a neater edge than trying to rush through. For visible edges that will sit inside external trims or around reveals, a cleaner cut saves time later.
Cutting around sockets, pipes and awkward details
Straight cuts are only half the job. Real installations often involve switches, sockets, pipes, boxing and uneven corners.
For sockets or rectangular cut-outs, mark the opening carefully and drill a starter hole inside the waste area. Then use a jigsaw to cut to the lines. Stay just inside the mark if the fit needs to be precise, and fine-tune gradually. Taking too much off in one go is difficult to hide, especially where trims or plates will not cover the gap.
For pipes, mark the centre point accurately and use an appropriate hole saw where possible. If the pipe is close to the panel edge, you may need a split cut that fits around the pipe and is then concealed by trim or sealant, depending on the detail.
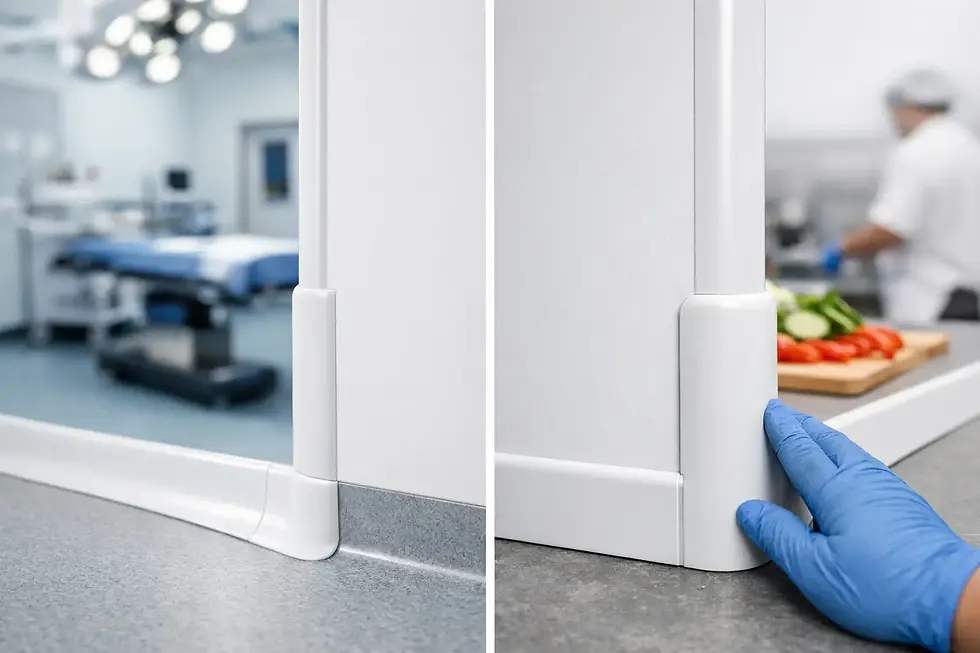
This is where a complete cladding system helps. Matching trims, jointing sections and sealants can make awkward areas easier to finish cleanly and hygienically, rather than relying on oversized cuts to get the panel in place.
Avoiding chipped edges and rough finishes
A rough edge is not always visible once it sits in a trim, but relying on that can be a mistake. Clean cuts make fitting faster and give you more flexibility if slight adjustments are needed on site.
Use sharp blades, support the sheet properly and avoid excessive pressure. If you are using power tools, let the blade do the work. If the PVC starts to melt or burr excessively, the setup may be too fast, too hot or using the wrong blade type.
After cutting, remove swarf and check the edge before fitting. A light pass with fine abrasive paper can tidy minor imperfections, but heavy sanding should not be necessary if the cut was done correctly.
Safety and accuracy on site
PVC cladding is easier to work with than many wall finishes, but basic safety still matters. Wear eye protection when using saws or drilling cut-outs, and keep your work area stable and clear. Large sheets can be awkward in tight rooms, so having a second person to support the panel often improves both safety and accuracy.
It also helps to think beyond the cut itself. Measure in relation to trims, adhesive coverage, internal and external corners, and any required expansion allowance. A technically straight cut can still be wrong if it does not account for how the sheet will sit within the full system.
Common mistakes when cutting PVC cladding
The most common issue is assuming every panel can be cut the same way. Thin ceiling cladding, decorative wall panels and heavy-duty hygienic sheets do not always behave alike. Another mistake is removing the protective film too early, which increases the chance of surface scratches during handling.
Poor measuring is another avoidable problem. Always check dimensions against the actual wall and not just the plan, especially in older buildings where corners are not perfectly square. And if a cut edge will be exposed, do not leave finishing until the end and hope sealant will disguise it. It rarely does.
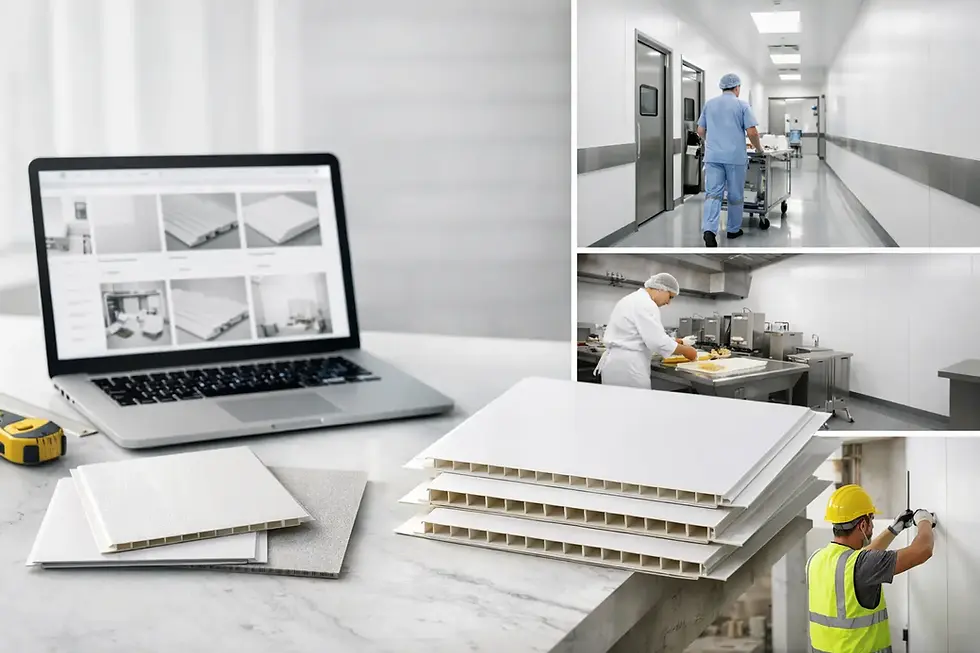
For installers and property owners who want a faster, cleaner finish, buying sheets, trims, adhesives and sealants together also reduces the guesswork. That is one reason many trade and home improvement buyers use specialist suppliers such as Hygienic Sheets rather than piecing materials together from different sources.
A careful cut does more than make the panel fit. It helps the whole wall system stay cleaner, look smarter and go in with less wasted time. If you slow down at the measuring and cutting stage, the installation usually speeds up everywhere else.
Comments