
Hygienic Cladding Installation Guide for Perfect Results
- tim7892
- 6 days ago
- 11 min read
Updated: 4 days ago
A Complete Guide to Installing Hygienic Cladding Correctly
Dirty corners and hard-to-clean wall surfaces are a constant worry in British hospitals and kitchens, where compliance and patient safety are always on the line. Facility managers know that gaps, cracks, or rushed installations can harbour dangerous microbes, turning a minor mistake into a major headache. Learning how to apply precise hygienic design principles means your next PVC wall cladding project will pass inspections, offer lasting cleanliness, and support top food and healthcare standards.
Table of Contents
Step 1: Assess And Prepare The Surface
Step 2: Measure And Cut Cladding Panels
Step 3: Install Sheets And Secure Joints
Step 4: Seal Edges And Finish Detailing
Step 5: Inspect And Clean The Installed Area
Quick Summary
Key Point | Explanation |
1. Thoroughly Inspect Existing Surfaces | Proper assessment reveals hidden issues that could jeopardise cladding adhesion and hygiene, preventing costly future problems. |
2. Accurate Measurements are Crucial | Measuring wall dimensions carefully ensures panels fit correctly, avoiding gaps where contaminants can collect, thus maintaining hygiene. |
3. Secure Joints to Prevent Contamination | Properly sealing joints is essential to eliminate gaps that could harbour bacteria, ensuring long-term hygiene compliance in critical environments. |
4. Seal All Edges and Finish Details | Sealing edges with appropriate sealant prevents water ingress and microbial growth, creating a smooth, maintainable surface for hygiene standards. |
5. Regular Inspections and Cleanings Required | Conducting routine checks and cleaning helps promptly identify and address any wear or damage, essential for maintaining hygiene and safety standards. |
Step 1: Assess and Prepare the Surface
Before you install hygienic PVC wall cladding, you need to understand what you are working with. Your existing surface will determine how well the cladding adheres, how long it lasts, and ultimately how hygienic your facility becomes. Taking time here prevents costly reinstallation later.
Start by inspecting the entire wall surface carefully. Look for cracks, chips, moisture damage, mould, or any structural issues. Run your hand across the wall to feel for loose plaster, flaking paint, or uneven areas. In food service and healthcare settings, contamination can hide in surface imperfections, so this inspection is not optional.
Key things to assess:
Moisture content and water damage signs
Existing paint condition and adhesion
Structural cracks or holes requiring repair
Surface cleanliness and contamination levels
Wall evenness and levelness
Previous coating or treatment types
Poor surface preparation accounts for most cladding failures within the first year. Get this right, and your installation will last.
Once you have identified issues, address them systematically. Remove all loose material using a scraper or wire brush. Repair structural defects with appropriate fillers or patches. For moisture problems, identify and resolve the source before proceeding. According to hygienic design principles, poorly prepared surfaces increase contamination risks, which is precisely what your facility cannot afford.
Clean the wall thoroughly with a damp cloth or cleaning solution appropriate to your sector. Allow it to dry completely. The surface should be smooth, free of dust, and free of any greasy residues. Healthcare and food service facilities must ensure surfaces meet hygiene standards before cladding installation.
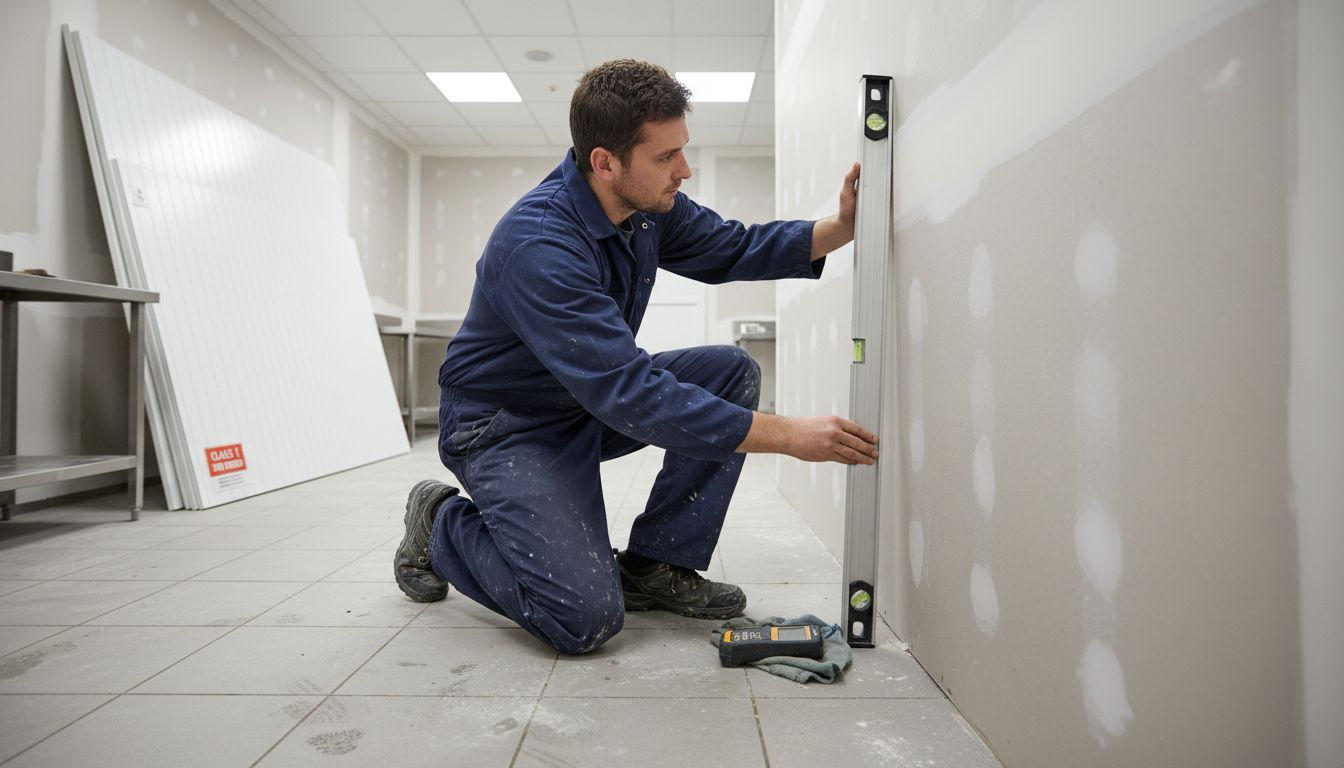
Check your wall’s levelness using a spirit level. Minor variations up to 5 millimetres are acceptable, but larger ones will show through your finished installation and complicate cleaning. Uneven walls may also compromise the joint design and cleanability of your cladding system, which affects long-term hygiene performance.
Document your findings before and after preparation. Photographs are invaluable for reference, and they provide proof that your facility met preparation standards. This matters for compliance audits in healthcare and food service environments.
Pro tip: Invest in a moisture metre before you begin. Walls must be dry to ensure proper adhesive bonding; readings should be below 12% moisture content for best results.
Step 2: Measure and Cut Cladding Panels
Accurate measurement and cutting determines whether your panels fit properly and whether your installation meets hygiene standards. Poorly cut panels leave gaps where bacteria and contaminants can hide, defeating the purpose of hygienic cladding. This step requires precision and patience.
Begin by measuring your wall dimensions carefully. Use a steel tape measure, not a cloth one, and take measurements at multiple points along the height and width. Walls are rarely perfectly square, so record the longest and shortest measurements. Write everything down clearly to avoid mistakes when cutting.
Consider all obstacles on your wall. You need to account for electrical outlets, switches, pipes, and any structural features that the cladding must fit around. Sketch a simple diagram of your wall layout showing these obstacles and their exact positions. This prevents costly errors when you are at the cutting stage.
Measuring steps to follow:
Measure wall height at three different points (left, centre, right)
Measure wall width at three different points (top, middle, bottom)
Mark the position of all obstacles with precision
Record all measurements twice to verify accuracy
Note any wall irregularities or slopes
Hygienic design principles require precise measurement and fabrication to ensure proper fit and minimise gaps, which directly prevents contamination risks.
When cutting your panels, use the correct equipment for the job. A fine-toothed saw or circular saw works well for straight cuts. For outlets and intricate shapes, a jigsaw provides better control. Always wear safety equipment including eye protection and a dust mask during cutting.
Cut slightly carefully rather than rushing. In healthcare and food service environments, panels must fit precisely without unsightly gaps. Make your first cut conservative, then you can make adjustments if needed. It is harder to add material back than to remove more.
Test fit each panel before moving on to the next one. Hold it against the wall to ensure it aligns properly with neighbouring panels and edges. Check that it sits flush and that any cut edges are smooth and free from splinters or rough spots. Sand down any rough edges using fine-grit sandpaper for a professional finish and better adhesion.
Your cutting accuracy directly affects how well the entire cladding system performs. Healthcare facility managers and food service operators cannot afford gaps that compromise cleanliness.
Pro tip: Create a cutting template from cardboard or plywood for any repeated cuts or complex shapes; this reduces errors and saves time when cutting multiple identical panels.
Step 3: Install Sheets and Secure Joints
This is where your cladding comes to life. Installing sheets and securing joints properly determines whether your facility maintains hygiene standards long-term. Poor joint security creates gaps where contamination thrives, making this step absolutely critical for healthcare and food service environments.
Start by applying adhesive to the wall surface using a notched trowel or spreading tool. Work in manageable sections to prevent the adhesive from drying before you position the panel. The adhesive layer should be even and free of lumps or air pockets. Consistency matters here.
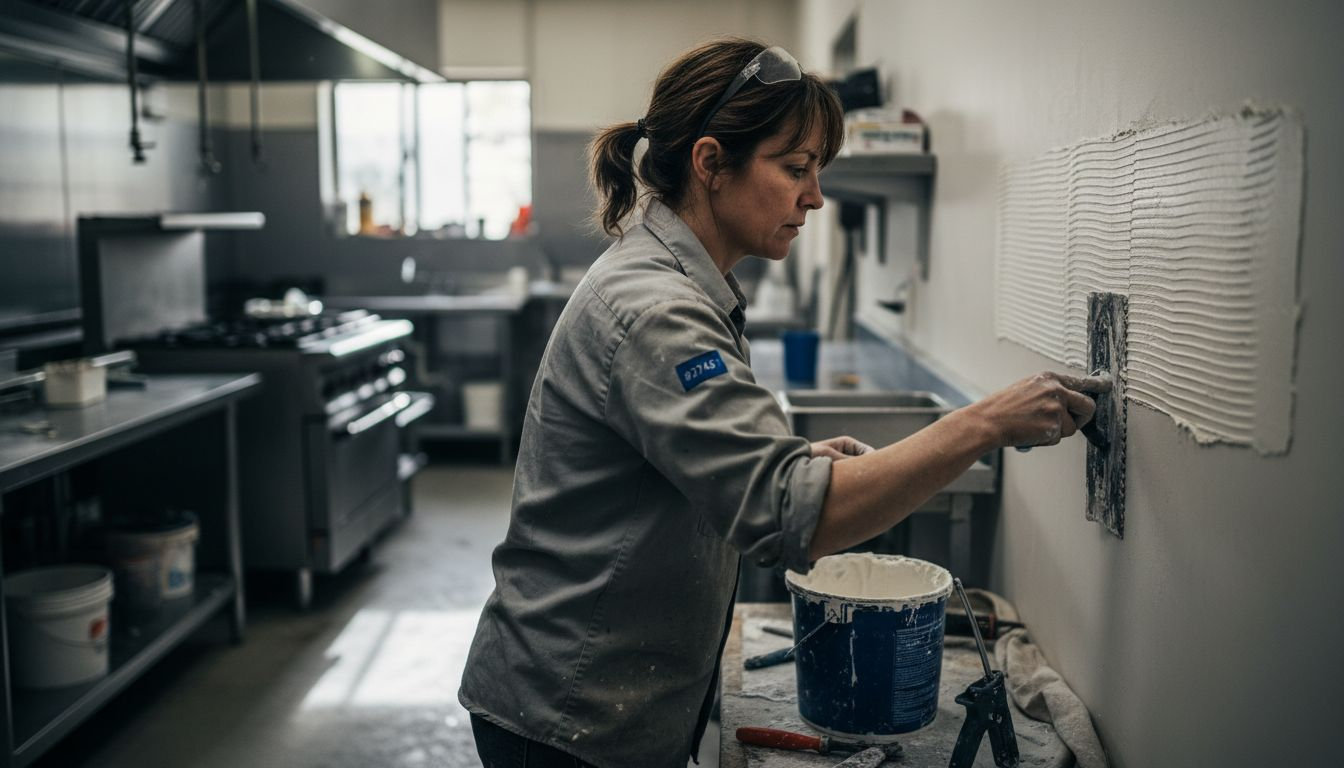
Position your first panel carefully at the bottom corner of the wall. Press it firmly against the adhesive, using a rubber mallet to ensure full contact across the entire surface. You should see adhesive squeeze out from behind the panel, confirming complete coverage. This prevents hollow spots that weaken the installation.
Installation sequence:
Apply adhesive to the wall in one section at a time
Position the panel and press firmly into place
Use a mallet to tap the panel and ensure full contact
Check that the panel is level and plumb
Allow adhesive to cure before installing the next panel
Wipe away excess adhesive immediately with a damp cloth
Secure joints must be free draining and accessible to clean and inspect, which prevents bacterial colonisation in gaps and crevices.
Joints require special attention. Where two panels meet, the joint must be tight and completely sealed. You can use cladding adhesive and joint sealants specifically formulated for hygienic environments to fill any small gaps. Apply sealant along the entire joint line, pushing it deep into the gap and smoothing it flush with the panel surface.
For vertical joints, apply sealant with a caulking gun and smooth it with a wet finger or tool. Horizontal joints require extra care because liquid and debris collect there. Make sure they slope slightly downwards to encourage drainage. EHEDG Guideline 44 Part 2 emphasises controlled installation processes to prevent contamination through panel interfaces.
Check every joint visually and with your finger to ensure there are no gaps or ridges. In food preparation areas and healthcare facilities, even tiny imperfections create contamination risks. Allow all adhesive and sealant to cure fully before exposing the walls to moisture or cleaning.
Pro tip: Install panels from bottom to top and stagger the joints so they do not align vertically; this distributes stress more evenly and creates a stronger, more hygienic wall system.
Step 4: Seal Edges and Finish Detailing
Sealing edges and finishing details is what separates a mediocre installation from a professional one. This step prevents contamination from entering gaps and crevices that harbour bacteria. In healthcare and food service environments, this attention to detail is non-negotiable.
Begin by inspecting all edges where the cladding meets walls, floors, and ceilings. These transition points are vulnerable to water ingress and microbial colonisation. Any visible gaps, however small, need to be sealed. Use a flexible, hygienic-grade sealant that remains pliable after curing to accommodate minor movement.
Apply sealant carefully along all perimeter edges using a caulking gun. Push the sealant deep into gaps so it fills the entire void. Then smooth it with a wet finger or plastic tool to create a flush finish. The goal is a continuous seal with no pockets or ridges.
Edge sealing checklist:
Seal top edge where cladding meets ceiling
Seal bottom edge where cladding meets floor
Seal side edges where cladding meets adjacent walls
Seal around door frames and openings
Seal around pipes and electrical penetrations
Check all seals for continuity and flush finish
Good detailing avoids crevices that harbour contaminants, ensuring surfaces are smooth, continuous, and maintainable, which directly supports food safety and quality standards.
For corner detailing, use corner trims or cove bases to create smooth transitions. These prevent sharp internal angles where dirt accumulates. Install them securely and seal around them to eliminate any gaps. Rounded or angled corners are far easier to clean than sharp ones.
Inspect the finish of all panel edges, particularly cut edges. Sand any rough spots with fine-grit sandpaper to prevent them from catching dirt or becoming hygiene hazards. Surface finishes on edges must be smooth with proper sealing to prevent ingress, ensuring durability and cleanability.
Allow all sealant to cure fully according to the manufacturer’s instructions before exposing the walls to moisture. Most sealants require 24 to 72 hours to achieve full strength. Do not allow staff to clean or use the facility during this period.
Walk around the installation one final time. Look for any gaps, ridges, or imperfections. Run your hand along joints and edges to feel for irregularities. Your installation is only as hygienic as the weakest detail.
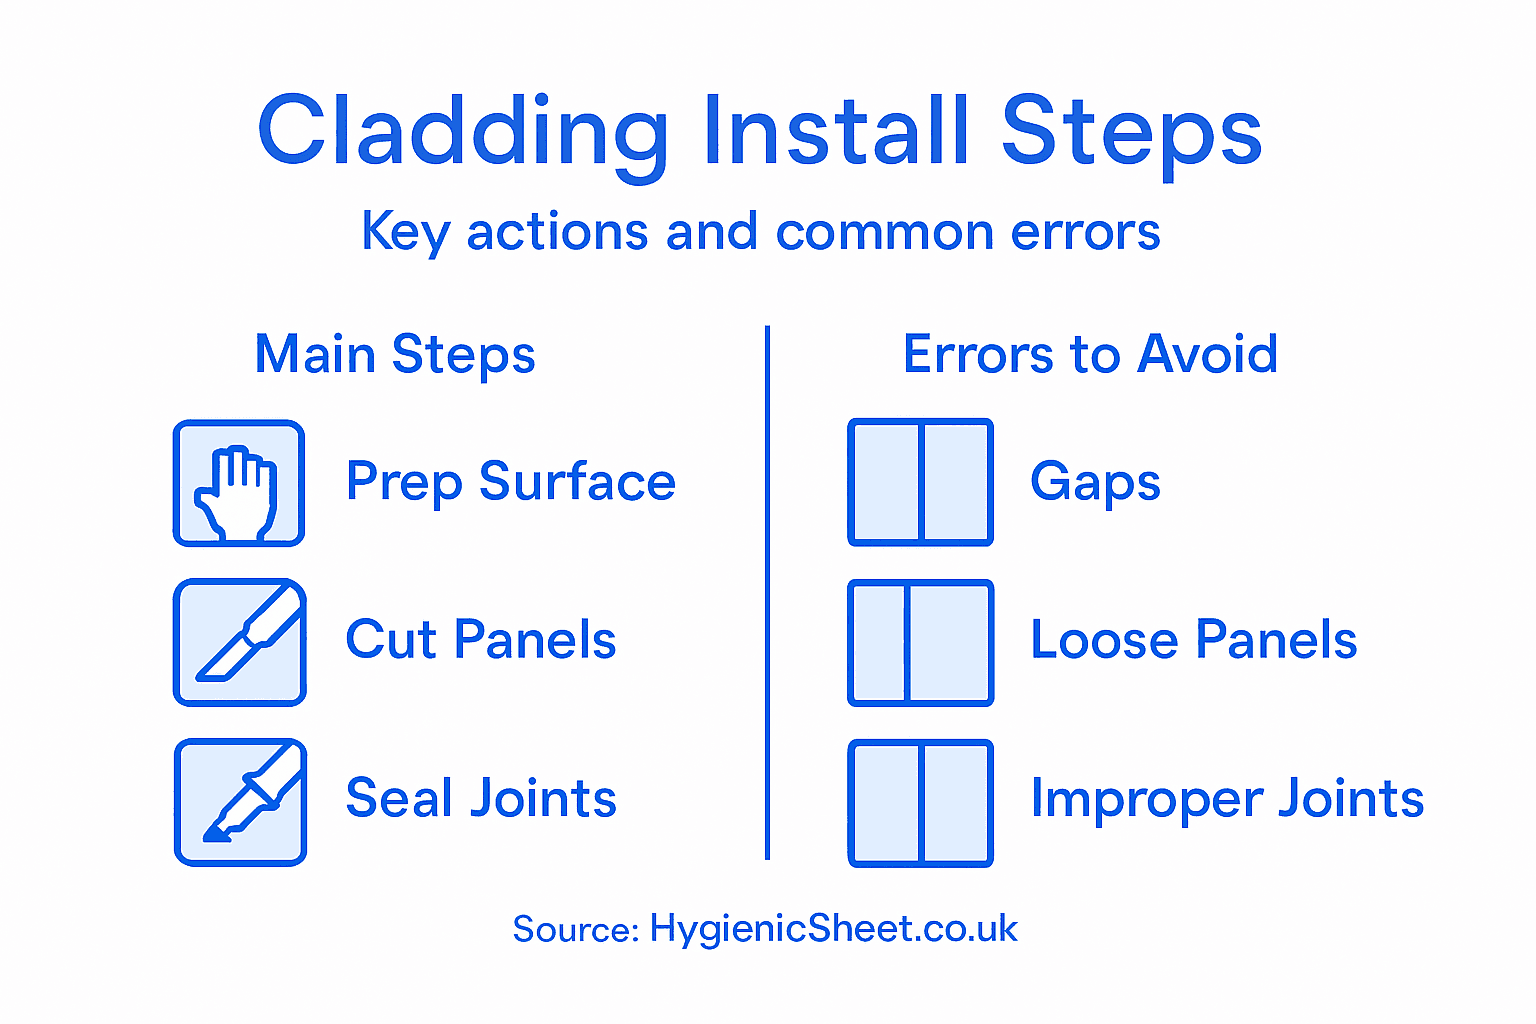
Below is a summary of common installation pitfalls and their consequences:
Installation Error | Typical Cause | Hygiene Impact |
Incomplete surface repair | Skipped surface inspection | Trapped contamination, early failure |
Imprecise panel cutting | Rushed measurements or cuts | Gaps harbouring bacteria |
Poor adhesive application | Uneven or rushed spreading | Loose panels, water ingress |
Inadequate joint sealing | Underfilled or missed joints | Microbial growth in crevices |
Missed edge finishing | Lack of attention to detail | Water ingress at perimeters |
Pro tip: Use a colour-matched sealant that complements your cladding finish; this makes minor imperfections less visible whilst maintaining a professional, cohesive appearance in your facility.
Step 5: Inspect and Clean the Installed Area
Installation is complete, but your work is not finished. Inspection and cleaning validate that your cladding meets hygiene standards and functions as intended. This step confirms your facility is ready for safe operation in healthcare or food service.
Begin with a thorough visual inspection of the entire installation. Look for gaps, cracks, loose panels, or areas where sealant has not adhered properly. Check that all joints are flush and continuous with no ridges or depressions. Run your hand across every surface to feel for irregularities that your eyes might miss.
Pay particular attention to transition points where cladding meets floors, ceilings, and walls. These areas are prone to gaps if installation was rushed. Check corners, around door frames, and anywhere pipes or electrical items penetrate the cladding. Any visible defect should be addressed immediately before cleaning begins.
Inspection points to verify:
All panels are firmly attached with no hollow areas
Joints are flush and free from gaps or ridges
Sealant is continuous along all edges and perimeters
Cut edges are smooth with no splinters or rough spots
Corner trims are secure and properly sealed
No debris or adhesive residue remains visible
Proper inspection and cleaning after installation ensure surfaces meet hygienic criteria and are free from contaminants or defects that compromise food safety and facility standards.
Once inspection is complete, clean the entire cladding surface thoroughly. Use warm water and a mild detergent appropriate for your facility type. Wipe down all panels, joints, and edges with a soft cloth or sponge. Pay extra attention to corners and joints where adhesive residue or dust may have accumulated.
For dried adhesive or stubborn marks, use a plastic scraper gently to avoid damaging the panel surface. Never use abrasive scouring pads or harsh chemicals that could damage the PVC finish. Test any new cleaning product on a small inconspicuous area first.
After wet cleaning, allow the surface to dry completely. Proper evaluation after installation includes checking for damage and confirming that cleaning procedures are effective to maintain food safety and quality throughout your operation.
Document your inspection with photographs and written notes. This record proves your facility meets hygiene standards and is valuable for compliance audits. Keep records showing what was inspected, any issues found, and how they were resolved.
Here is a quick-reference table for post-installation maintenance best practices:
Task | Frequency | Purpose |
Visual inspection | Monthly | Identify new gaps or wear |
Clean with mild soap | Weekly | Remove everyday contaminants |
Check sealants | Every 3-6 months | Ensure continued integrity |
Repair damages | Immediately | Prevent hygiene breaches |
Pro tip: Train your cleaning staff on proper techniques before they take over maintenance; they should use only approved cleaning products and soft materials to preserve your cladding investment for years to come.
Achieve Flawless Hygienic Cladding Installation with Expert Solutions
Ensuring perfect adhesion and seamless sealing during your hygienic PVC wall cladding installation can be challenging. The article highlights key issues such as surface preparation, precise cutting, secure joints, and meticulous edge sealing that are crucial to maintaining strict hygiene standards in healthcare and food preparation environments. Avoid common pitfalls like gaps harbouring bacteria and water ingress at perimeters by using high-quality materials and accessories designed specifically for these demanding settings.
Take control of your installation success with the reliable products and specialised support available at Hygienic Sheets. Explore our extensive range of premium cladding panels, trims, adhesives, and sealants all tailored to provide durable, waterproof, and easy-to-maintain surfaces that meet rigorous hygiene requirements. Don’t leave your facility’s cleanliness to chance; invest now in proven solutions that help you pass compliance audits confidently and extend your cladding system’s lifespan. Visit Hygienic Sheets today and set your project on the path to perfection.
Frequently Asked Questions
How do I assess and prepare the wall surface before installing hygienic cladding?
To assess and prepare the wall surface, inspect for cracks, moisture damage, and contamination. Clean the area thoroughly and ensure it is smooth and free from defects before moving forward with the installation.
What measurements do I need to take for proper cladding panel installation?
Measure the wall height and width at multiple points to account for irregularities. Record the measurements carefully, noting any obstacles that may affect the placement of cladding panels.
What type of adhesive should I use for securing hygienic cladding sheets?
Use a high-quality adhesive suitable for PVC wall cladding applications, ensuring it is evenly applied without lumps. Apply adhesive in manageable sections to prevent it from drying out before placing the panels.
How can I ensure that the joints between cladding panels are properly sealed?
To properly seal joints, apply a compatible joint sealant to fill any gaps and ensure they are flush with the panel surface. Inspect each joint for smoothness and completeness to prevent microbial growth.
What steps should I take to inspect and clean the installed cladding?
After installation, conduct a thorough visual inspection for gaps and defects, particularly around joints and edges. Clean the panels with warm soapy water and a soft cloth, and ensure the surface is free from any adhesive residue before allowing moisture exposure.
How frequently should I perform maintenance on the installed hygienic cladding?
Conduct a visual inspection of the cladding every month and clean it weekly to remove everyday contaminants. Check sealants every 3 to 6 months to ensure continued effectiveness and address any damage immediately to maintain hygiene standards.
Recommended
Comments