


How to Drill Holes in Cladding Without Cracks
A poorly drilled fixing hole can turn an otherwise clean cladding installation into a source of water ingress, cracked panels and difficult cleaning. When you need to drill holes in cladding, the aim is simple: create a neat, correctly sized opening without stressing the PVC sheet or compromising the waterproof finish.
PVC hygienic wall cladding is tough, waterproof and straightforward to work with, but it should not be treated like brick, tile or timber. The right drill bit, speed and sealing method make a noticeable difference, particularly in commercial kitchens, bathrooms, utility rooms and other hygiene-sensitive areas.
First, decide whether drilling is necessary
Many wall cladding installations are designed to be fully bonded to the wall with a suitable adhesive. Once fitted, the sheet provides a smooth, grout-free surface that is easy to wipe down and resistant to moisture, stains and mould. In these cases, drilling through the face of the panel is often unnecessary.
Holes are normally needed for practical reasons: fitting shelving, grab rails, dispensers, sanitaryware, signage, sockets, pipework or other wall-mounted equipment. They may also be required where a particular installation method calls for mechanical fixing. The best approach depends on the panel, the condition of the substrate, the weight of the item being fitted and whether the area is regularly exposed to water.
For heavy fixtures, the cladding should not carry the load. The fixing needs to pass through the panel and anchor securely into solid masonry, timber battens, noggins or another suitable backing. A light dispenser is one thing; a basin, handrail or wall cabinet needs proper structural support behind it.
Tools for drilling PVC wall cladding
A standard sharp HSS twist drill bit is usually the right choice for drilling PVC cladding. It cuts cleanly through the sheet without the aggressive action of a masonry bit. A brad-point bit can also work well for small, tidy holes, especially where accurate positioning matters.
Use a drill with variable speed and set it to rotary mode only. Do not use hammer action on PVC cladding. Hammer drilling can crack the face of the sheet, create an oversized hole and transfer unnecessary vibration into the panel and adhesive bond.
For larger openings around pipes, use a sharp hole saw or a stepped drill bit. A hole saw is particularly useful for waste pipes, cable entries and larger service penetrations. Choose a size that leaves enough clearance around the pipe for sealant, rather than forcing the pipe tightly against the edge of the PVC.
Before starting, have a tape measure, pencil or non-permanent marker, masking tape, safety glasses, suitable wall plugs and a quality sanitary sealant ready. In wet areas, the sealant is not an optional finishing touch. It forms part of the waterproof detail.
How to drill holes in cladding cleanly
Start by measuring the fixing position from fixed reference points, such as a corner trim, floor level or worktop. Do not rely on a rough visual line, particularly when fitting several accessories. A row of dispensers or hooks will look unprofessional if the holes are even slightly out of level.
Place a small piece of masking tape over the drilling point, then mark the centre of the hole on the tape. The tape helps reduce drill wander and makes the mark easier to see on gloss or white finishes. For a very smooth panel, begin with a small pilot hole before opening it to the final size.
Hold the drill square to the panel and start at a slow speed with light, steady pressure. Let the bit cut through the PVC rather than pushing hard. Excessive pressure can cause the drill to grab as it breaks through, which is when cracking or a chipped edge is most likely.
Once the bit has passed through the cladding, stop and assess what sits behind it. If you are fixing into masonry, change to the appropriate masonry bit only after you have cleared the PVC sheet. Drill the substrate to the depth required for the plug, taking care not to enlarge the opening through the panel itself.
Remove any swarf and test-fit the fixing. The screw should pass through freely without forcing or pulling the sheet tight against the wall. If the fixing is too tight, movement in the wall or fixture can place stress on the cladding over time.
Drill the clearance hole, not just the screw size
Where a screw passes through PVC cladding, it is generally better to drill a clearance hole slightly larger than the screw shank. This prevents the thread from biting into the panel and drawing it forward as the screw tightens.
The screw should secure the item to the wall behind the cladding, while the panel remains flat and unstressed. This is especially useful with larger accessories and in areas where temperatures may vary. PVC can expand and contract slightly, so allowing sensible clearance reduces the risk of distortion.
Avoid overtightening. Tighten the fixture until it is secure, but do not crush the cladding beneath the fitting. A neat bead of sealant around the finished item will protect the edge of the hole and provide a cleaner appearance.
Sealing drilled holes in shower areas and wet rooms
Any hole through wall cladding in a shower enclosure, washroom or food preparation area needs careful sealing. Water can track behind an unsealed fitting, where it may affect the substrate, adhesive or surrounding finish. The visible panel may still look fine while moisture is building up out of sight.
Apply a suitable sanitary silicone sealant around the hole before fitting the screw or accessory. For pipes, apply sealant around the penetration once the pipe is in position, ensuring the joint is continuous with no small gaps. A pipe collar or escutcheon can give the detail a smart finish, but it should not be relied on as the only water seal.
For accessories with a backplate, seal around the rear edge before fixing it to the wall. Once secured, run a neat finishing bead around the top and sides where appropriate. In many wet-area applications, leaving the bottom edge unsealed can allow any trapped moisture to escape, but the right detail depends on the fixture design and site requirements.
Use a sealant suited to hygienic, wet environments and allow it to cure fully before exposing the area to regular cleaning or water. Rushing this stage can undermine an otherwise well-fitted cladding system.
Drilling for pipes, sockets and larger cut-outs
Pipe penetrations need more allowance than a simple screw hole. Measure the pipe position carefully and use a hole saw that creates a clean opening with a small, even gap around the pipe. Trying to make a pipe pass through a tight hole can crack the panel during fitting or as the pipe moves.
For electrical sockets and switches, isolate the electrical supply and follow the relevant electrical installation requirements. The cladding should be cut accurately around the back box, with the faceplate covering the edge of the opening. Do not drill or cut blindly where services may be present behind the wall.
Larger cut-outs are best marked first and cut using the appropriate tool for the shape. Drill starter holes at internal corners if required, then make controlled cuts. Sharp internal corners can concentrate stress, so a slightly rounded corner is often preferable to a hard square corner where the layout allows.
Common mistakes that damage cladding panels
The most common problem is using hammer mode from the start. It is unnecessary for PVC and can leave a cracked or ragged hole. Another frequent mistake is drilling at high speed with a blunt bit, which generates heat and can melt or roughen the edge of the panel.
Do not place fixings too close to the edge of a sheet, trim or joint. The PVC has less support in these areas, and a screw can split the edge or interfere with the trim detail. If a fitting must sit near a joint, plan the installation so the fixing point lands on a properly supported section of wall.
Avoid drilling before checking for pipes, cables and hidden services. This matters in every building, but especially in refurbishment work where previous alterations may not be obvious. A cable detector and sensible investigation are far cheaper than repairing damaged services.
Finally, do not leave exposed holes unsealed in wet or hygiene-critical spaces. Even a small unused hole should be filled and sealed properly, rather than covered with tape or ignored behind an accessory.
A clean finish starts with a complete system
High-quality PVC hygienic wall cladding gives you a practical, low-maintenance alternative to tiles, but the installation details matter as much as the sheet itself. Matching trims, suitable adhesive and the correct sealant help create a finish that is easy to clean and built for demanding environments.
Hygienic Sheets supplies wall cladding and the fitting essentials needed for commercial and domestic projects, from small bathroom upgrades to busy kitchens and washrooms. Plan every penetration before fitting where possible, use the right tool for the job, and seal each opening with the same care as the panel joints. That is how a smart cladding installation stays waterproof, hygienic and dependable for years to come.

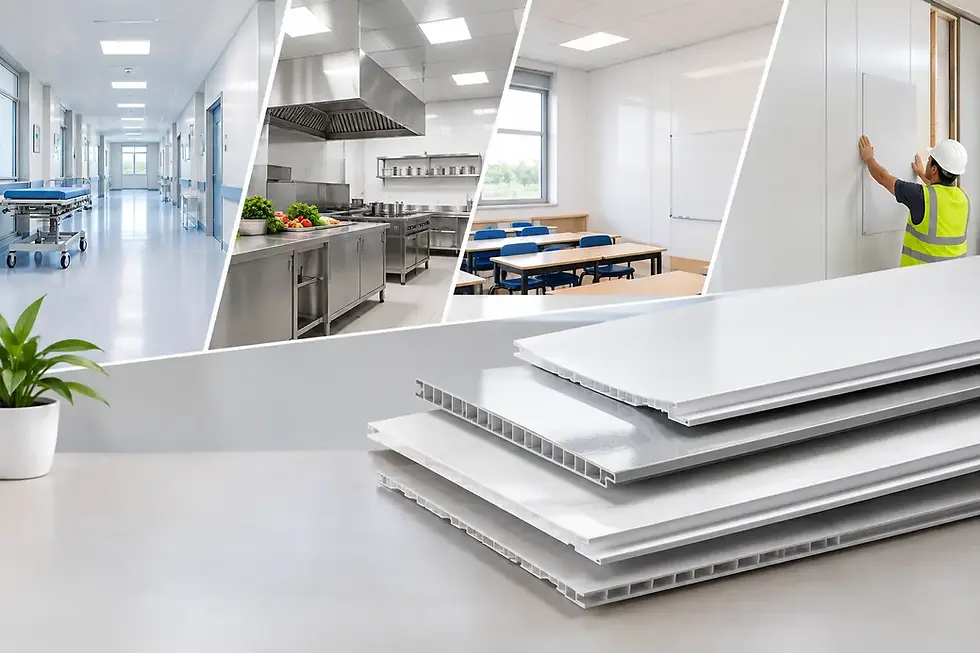

Working with cladding requires careful preparation, especially when drilling holes where a small mistake can damage the surface or leave unwanted cracks. Once the installation work is finished, keeping the surrounding surfaces clean and properly maintained is just as important for preserving the finished result. For businesses looking for specialty chemical products for cleaning and maintenance applications, https://brodychemical.com/ is worth exploring.