

Can PVC Cladding Go Over Tiles? What to Check
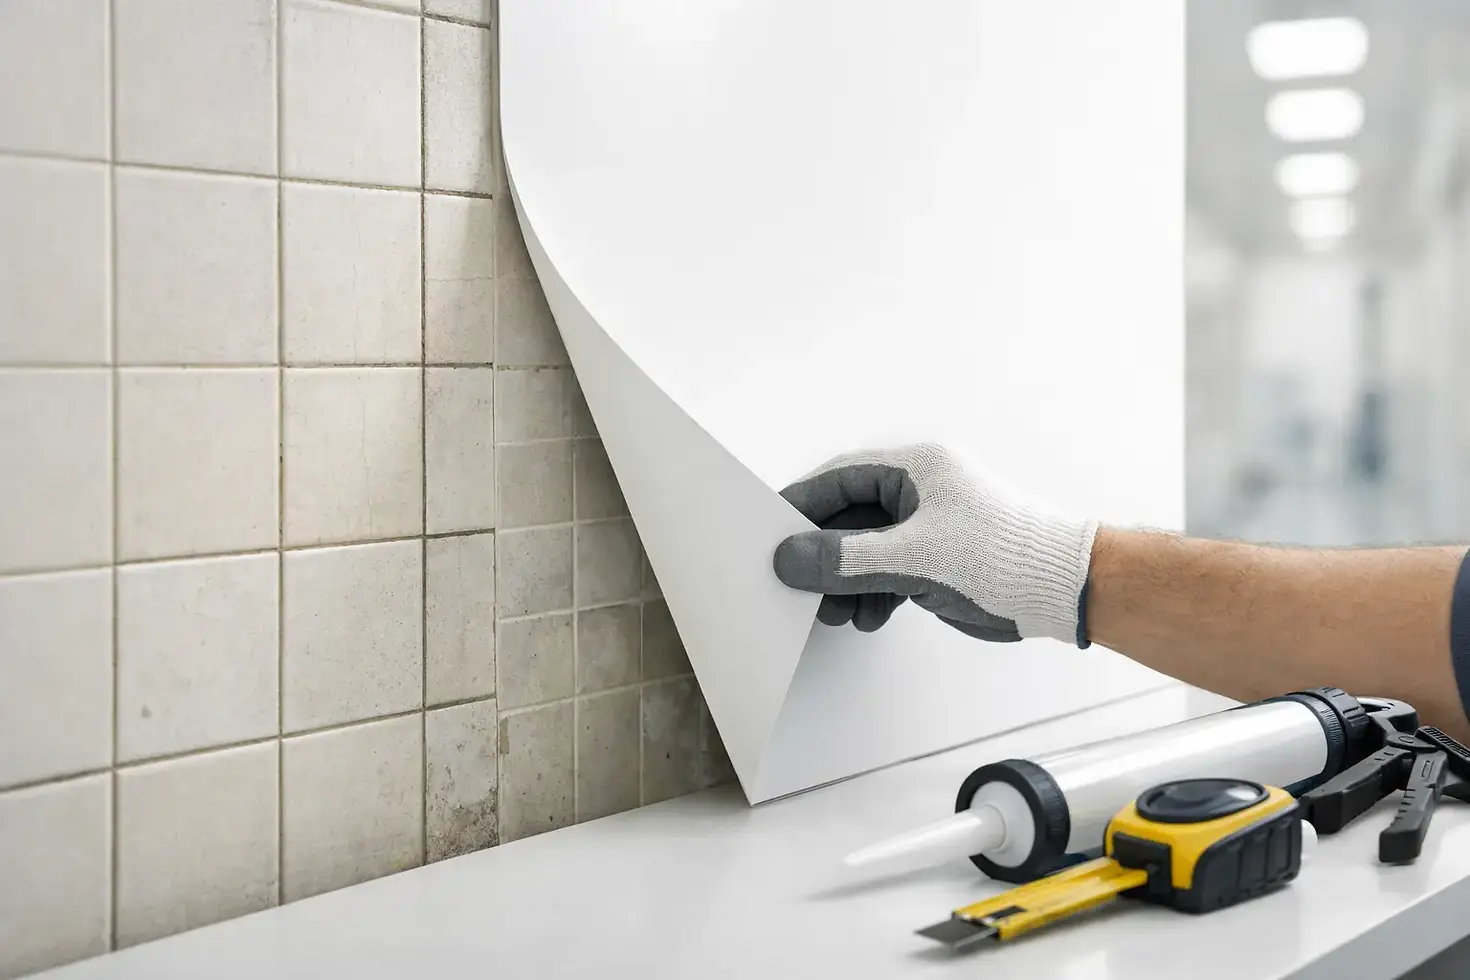
A tiled wall can be one of the quickest surfaces to upgrade, provided it is sound. If you are asking, can PVC cladding go over tiles, the answer is usually yes. PVC hygienic wall cladding can be fixed directly over existing ceramic tiles, saving the mess, time and cost of removing them first. The key is not the tile itself, but the condition of the wall, the preparation work and using the right adhesive and finishing trims.
For bathrooms, commercial kitchens, utility rooms, changing areas and other hard-working spaces, fitting cladding over tiles replaces grout lines with a smooth, waterproof, easy-clean finish. It is a practical refurbishment route when downtime matters and the existing tiling is firmly bonded.
Can PVC cladding go over tiles without removing them?
Yes, PVC cladding can go over tiles if the tiles are clean, dry, flat and securely fixed. A properly prepared tiled surface gives installers a stable base for premium PVC wall sheets, allowing the finished wall to perform as a hygienic protective surface rather than simply covering a problem underneath.
Direct-to-tile installation is especially useful where removing old tiles would create disruption or expose damaged plasterboard, blockwork or uneven walls. Instead of dealing with dust, loose debris and patch repairs, you can retain the existing tile surface and install cladding over it.
However, cladding should not be used to hide failed tiling. Loose, cracked or hollow-sounding tiles need attention first. If the background is unstable, the sheet may only be as secure as the tile that it is bonded to.
When fitting PVC wall sheets over tiles is a good option
The best candidates are tiled walls with an even layout, solid adhesion and no signs of ongoing damp problems. The tiles do not have to look attractive, but they do need to provide a dependable fixing surface.
In a domestic bathroom, this could mean dated patterned tiles around a bath or shower enclosure. In a food preparation area, it may be an old tiled splashback where stained grout has become difficult to clean. In both cases, hygienic PVC sheets create a continuous surface that is easier to maintain and has no grout joints for dirt, mould or bacteria to settle into.
PVC cladding is also useful when a project requires a fast visual improvement with minimal structural work. It is waterproof, stain resistant and available in a choice of white, pastel and gloss finishes, so the result can suit a bright clinical space, a busy back-of-house area or a modern home interior.
For hygiene-sensitive settings, always choose sheets with the appropriate product specification for the job. Premium hygienic PVC cladding can offer features such as Class 1 fire performance, UV stability and food-contact approval, but requirements should be checked against the individual product and the conditions of the installation.
Check the tiles before you start
A few simple checks prevent most installation failures. Press across the tiled wall and listen for a hollow sound, particularly around edges, corners and previous repair areas. Hollow or moving tiles may have lost their bond and should be removed or properly secured before cladding is installed.
Look closely at the grout and silicone lines. Black mould, staining and cracked sealant can indicate that water has been getting behind the tiles. Clean surface mould thoroughly, remove failed silicone and investigate the source of any persistent damp. PVC cladding creates a waterproof face, but it cannot correct leaks from pipework, failed shower trays or water entering behind the wall.
Flatness matters as well. Small grout recesses are not normally a concern because adhesive bridges them, but badly lipped tiles, raised decorative borders or thick tile trims can stop a sheet sitting flat. Remove protruding fittings and level significant high spots before fitting. Where the wall is very uneven, an alternative preparation method or a battened system may be more suitable than direct bonding.
Preparing tiled walls for PVC cladding
Preparation is where a quick refurbishment becomes a long-lasting installation. Tiles used in bathrooms and kitchens often carry soap residue, grease, polish or limescale, all of which can reduce adhesive grip. Wash the wall with a suitable degreasing cleaner, rinse if required and allow it to dry completely.
Gloss tiles may need light abrasion to provide a better key for the adhesive. This is not about damaging the wall. It is simply about taking the shine off the surface so the adhesive can bond effectively. Vacuum or wipe away all dust afterwards.
Next, plan the sheet layout. Measure the wall carefully, allowing for internal corners, external corners, windows, pipes and access panels. Dry-positioning the first sheet helps confirm that joints fall where they should and avoids ending up with a very narrow strip at the far end of the wall.
PVC wall sheets expand and contract slightly with changes in temperature. Let the sheets acclimatise in the room before installation, particularly if they have arrived from a cold delivery vehicle or are being fitted in a warm commercial kitchen. Follow the adhesive and sheet manufacturer’s guidance on expansion gaps, adhesive coverage and curing time.
Choosing adhesive, trims and sealant
A clean tiled wall needs more than a sheet and a tube of general-purpose adhesive. Use an adhesive designed for PVC wall cladding and suitable for non-porous backgrounds such as ceramic tiles. Apply it evenly to achieve continuous support behind the panel, rather than relying on isolated blobs that can leave unsupported areas.
Matching trims are equally important. Internal corner trims provide a neat joint between adjoining walls; external trims protect exposed corners from knocks; end caps finish open sheet edges; and two-part joining trims create a clean transition between panels where needed. They also help produce a professional result without relying on a perfect hand-cut edge.
Use a compatible sanitary sealant at the perimeter and around showers, baths, basins, pipe penetrations and other areas exposed to water. A well-sealed cladding system prevents moisture from finding its way behind the sheets. In wet areas, pay close attention to the bottom edge and any junction with a shower tray or bath, as these are common points of water ingress.
A practical installation sequence
Start with the most visible wall or the corner that gives you the cleanest layout. Cut the first panel accurately, test-fit it, then apply adhesive and press it firmly into position. Check it is level before moving on. If the first sheet is out, every following sheet will show it.
Fit the appropriate trim as you work, rather than trying to force it on after the wall is complete. Join the next sheet tightly and consistently, following the system’s recommended joint detail. Wipe away excess adhesive or sealant immediately with a suitable cloth before it cures.
Cut-outs for sockets, switches, pipes and fixtures need careful measuring. Isolate electrical supplies before working around electrical accessories, and use the correct approach for the room and installation type. In commercial environments, it is sensible to coordinate sheet fitting with other trades so penetrations and equipment locations are final before panels are cut.
Do not rush the curing period. Avoid heavy cleaning, impact or prolonged water exposure until the adhesive and sealant have fully cured in line with their instructions. This protects the bond and gives the finished wall the best start.
Where cladding over tiles may not be the right answer
There are situations where removing tiles or repairing the background first is the better decision. Extensive loose tiles, active leaks, severe wall movement and major unevenness all need resolving before a hygienic wall finish is installed. The same applies where the tiled surface is contaminated with substances that cannot be reliably cleaned or where access behind the wall is needed for repairs.
You should also consider thickness around door frames, window reveals and existing fittings. Installing a sheet over tiles adds depth to the wall. Usually this is straightforward to manage with suitable trims, but tight spaces need measuring before materials are ordered.
For larger commercial projects, a small trial area can be worthwhile. It confirms the condition of the substrate, adhesive bond and detailing before the main installation begins. That modest check can prevent costly rework later.
A tiled wall does not have to mean a slow, dusty strip-out. When the background is stable and prepared properly, PVC hygienic wall cladding offers a clean, durable route to a modern waterproof surface with less maintenance than grout. Measure carefully, use the complete adhesive, trim and sealant system, and deal with any underlying wall issues before the first sheet goes up.


Comments