

How to Fit Ceiling Cladding for a Clean Finish
- tim
- 10 minutes ago
- 6 min read
A ceiling above a commercial kitchen, bathroom or utility room has to work as hard as the walls around it. It needs to stand up to steam, splashes, regular cleaning and changing temperatures without becoming stained, damp or difficult to maintain. Knowing how to fit ceiling cladding properly gives you a smooth, wipe-clean surface with no grout lines and a finish that looks professional for years.
PVC ceiling cladding is a practical choice for hygiene-sensitive rooms, retail back-of-house areas, food preparation spaces, changing rooms and domestic bathrooms. It is lightweight, waterproof and simple to clean. The quality of the installation, however, depends on sound preparation, accurate cuts and using the right trims and sealant as part of one complete system.
Prepare the ceiling before fitting cladding
Do not fit ceiling panels over a surface that is loose, wet or structurally unsound. Start by checking the existing ceiling for signs of water damage, flaking paint, mould or movement. Resolve the cause of any damp first. Cladding can protect a sound surface from moisture, but it cannot fix a leaking roof, failed pipework or condensation problem above it.
Remove any loose material and clean away grease, dust and surface contamination. In kitchens and commercial areas, degreasing is particularly important. Adhesive and sealant need a clean, stable surface to bond correctly.
For a flat, dry and sound ceiling, panels may be fitted directly with a suitable adhesive. This is often the quickest approach on plasterboard or timber ceilings in good condition. Where the ceiling is uneven, where services need to be concealed, or where you want a more reliable fixing base, install a timber batten framework first.
Battens should be straight, dry and securely fixed to the ceiling structure. Space them evenly so every panel has adequate support across its width. Keep the framework level. A small dip or twist in the battens can show through the finished cladding, especially under bright lighting.
Before covering the ceiling, decide where lights, extractor vents, access hatches, smoke alarms and other fittings will sit. Isolate electrical circuits before working near wiring. Any electrical alterations should be completed by a suitably qualified electrician. It is much easier to plan cable routes and cut-outs now than to alter finished panels later.
Measure, plan and choose the panel direction
Measure the room in several places, not just along one wall. Older buildings and refurbishment projects are rarely perfectly square. Record the longest length and width, then allow extra material for trimming and for any mistakes around obstacles.
The direction of the panels affects both appearance and installation. Running panels along the longest dimension can make a narrow room feel more balanced and reduces the number of end joints. In some rooms, running them towards the main source of light gives a neater visual line. There is no single rule: choose the direction that creates the fewest awkward cuts and allows each panel to be properly supported.
Bring the panels into the room before installation and allow them to acclimatise to the room temperature. PVC can expand and contract slightly with temperature changes. Avoid fitting very cold panels straight from a delivery vehicle into a warm, humid room. Leave a modest expansion allowance at perimeter edges, which will be covered by trims, rather than forcing panels tightly against the walls.
Set out the first panel carefully. It establishes the line for every panel that follows. If the room is out of square, it is usually better to keep the first panel straight and deal with the tapered cut at the least noticeable edge of the room. Starting with a crooked panel makes the error more visible with every joint.
Tools and materials for fitting ceiling cladding
A clean installation does not require specialist machinery, but it does require accurate measuring and controlled cutting. Have the essentials ready before applying adhesive or starting the framework:
PVC ceiling cladding panels, allowing for waste and cut-outs
Suitable adhesive for direct bonding, or timber battens and fixings for a framed ceiling
Matching perimeter trims, joining trims and end caps where required
A waterproof, sanitary-grade sealant
Tape measure, pencil, straightedge and spirit level
Fine-tooth saw, jigsaw or sharp utility knife suitable for PVC
Caulking gun, drill/driver and appropriate screws or plugs
Matching trims are not just a finishing detail. They cover expansion gaps, protect panel edges and help create a clean junction between the ceiling and wall cladding. In wet rooms and hygiene-critical spaces, they also make it easier to form a sealed, easy-clean perimeter.
How to fit ceiling cladding step by step
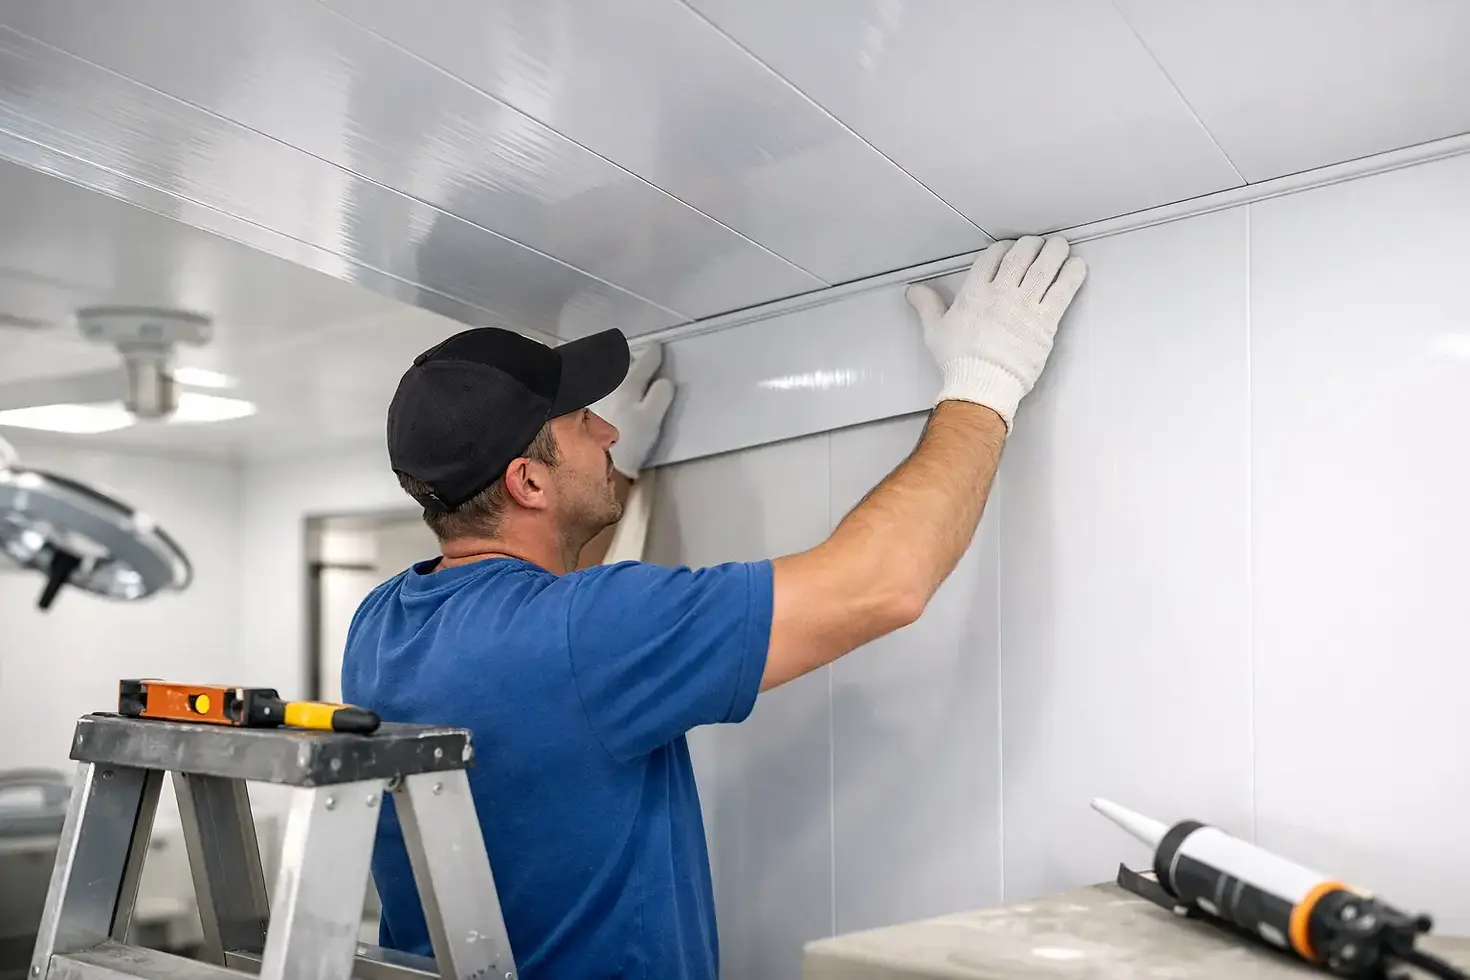
Begin by fitting the perimeter trim around the room, following the chosen panel direction. Check that each trim is level and securely fixed. If you are fitting ceiling cladding above PVC wall sheets, plan the junction so water cannot sit in an exposed gap. The correct trim and a continuous sealant bead are more dependable than relying on a tight cut alone.
Measure the first panel and mark it on the face side with a pencil. Cut slowly with a fine-tooth blade to reduce chipping. For a utility knife, score the panel firmly against a straightedge and bend it carefully along the score line. Always test the fit before applying adhesive.
When bonding directly, apply the approved adhesive in evenly spaced beads or as specified for the product and substrate. Do not use excessive adhesive, as it can create high spots and make the panel difficult to level. Press the panel into place, checking that it sits fully within the trim and follows the planned line. A little adjustment time is useful, but do not repeatedly pull the panel away from the adhesive once it has started to grip.
For battened ceilings, fix the panel through its concealed fixing edge where the profile allows. Use suitable corrosion-resistant fixings and avoid over-tightening, which can distort PVC. Each panel should be fixed squarely to the framework, with support provided at the recommended intervals.
Fit the next panel by engaging its tongue-and-groove joint with the previous one. Push it home firmly but do not hammer directly on the PVC. Use a protective offcut if gentle persuasion is needed. Check the joint is fully closed along its full length before moving on. A panel that is not properly seated can leave a visible line and compromise the finished appearance.
Continue across the ceiling, measuring each panel where walls are not square. Do not assume the final panel will be the same width at both ends. Measure at the front, centre and rear, transfer the narrowest practical line to the panel, then cut and test fit.
The final panel usually needs to be trimmed lengthways. Take your time here. A neat final cut disappears behind the perimeter trim, while an over-cut panel can leave a difficult gap. Where a trim is already in place, flex it only as much as necessary to guide the panel edge into position without damaging it.
Cutting around lights, vents and access points
Mark cut-outs from precise measurements, using the fitting itself as a template where possible. Cut holes slightly larger than the component only where the manufacturer permits this, leaving enough cover for the light bezel, vent flange or trim. Never cut first and hope the fitting will hide an inaccurate opening.
For recessed lights, check heat requirements and clearance instructions before installation. PVC ceiling cladding is suitable for many applications, but lighting components must be specified and installed correctly. Keep sealant away from moving vent parts and do not block extractor routes.
If a room contains valves, junctions or services that may require future maintenance, include a suitable access panel rather than permanently covering them. This is particularly sensible in commercial premises where routine inspection may be required.
Seal joints and finish the edges properly
Once the panels and trims are fitted, apply a neat, continuous bead of sanitary sealant at exposed perimeter joints, around penetrations and wherever the system requires it. Smooth the bead promptly for a clean finish. The aim is to stop moisture and dirt collecting behind the cladding, not to cover poor cuts with large amounts of sealant.
Allow adhesive and sealant to cure in line with the product instructions before exposing the ceiling to heavy steam, washing or high humidity. In a bathroom, that may mean delaying the first shower. In a commercial kitchen or wash-down area, schedule fitting so the installation has proper curing time before the room returns to service.
A well-fitted PVC ceiling needs very little upkeep. Wipe it down routinely with warm water and a non-abrasive cleaner, then dry where needed. Avoid harsh scourers, aggressive solvents and sharp tools that can mark the surface. With correct preparation, matching trims and careful sealing, ceiling cladding provides the hard-wearing, hygienic finish that busy spaces need. For a project that needs panels, trims, adhesives and sealants to work together, choosing a complete system from Hygienic Sheets helps keep installation straightforward from the first measurement to the final sealed edge.


Comments